


Make your own soap: Melt & Pour for beginners
Advertising: This post contains affiliate links. If you buy through a link we earn a small commission, the price stays the same for you.
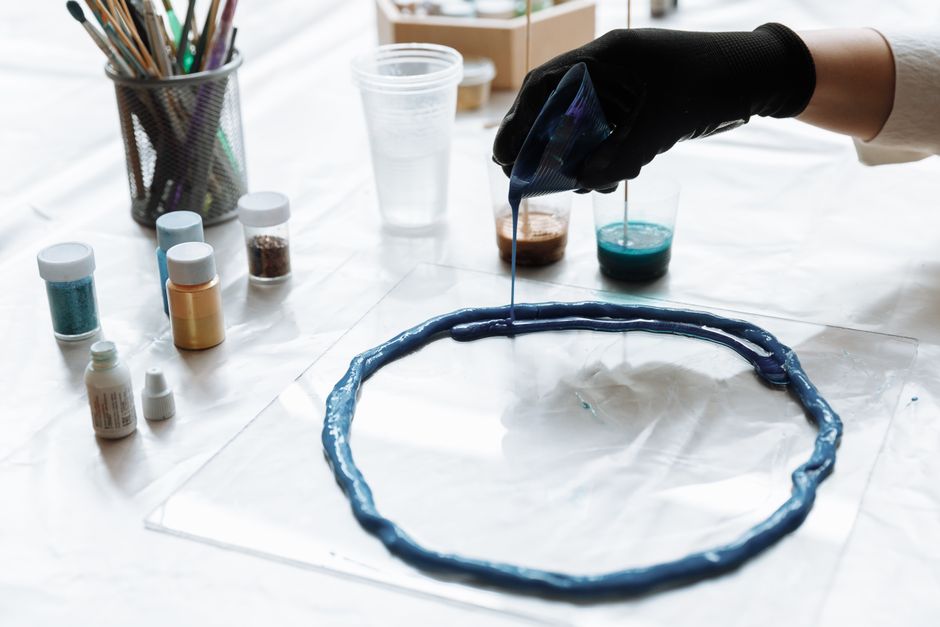
You want to make soap yourself, but without dangerous lye and safety drama? Then melt & pour is your way in: melt a ready soap base, refine it with scent, colour and care, pour into a mould. In 15 minutes of work you have your own soap, child’s play, safe and endlessly variable.
What you need
- approx. 450 gsoap base (glycerine, shea butter or goat milk)
- 1silicone soap mould
- as desiredessential oils for scenting
- optionalsoap colorant
Ingredient links go to Amazon, advertising.
How to
- Cut the soap base into small cubes (melts faster).
- Melt in a water bath or microwave in 30-second steps, stirring in between, do not let it boil.
- Take off the heat, stir in essential oils (about 20 drops per 450 g) and colour if you like.
- Pour into the silicone mould, tap briefly on the worktop so air bubbles rise.
- Let set for 2 hours at room temperature (or 30 to 40 minutes in the fridge).
- Press out of the mould, done. Let it dry for 1 to 2 days before use, then the soap lasts longer.
Tip: The base decides the care: shea butter for dry skin, goat milk especially mild, clear glycerine for transparent effect soaps with inclusions.